Monday, June 29, 2015

Circle of Friends

This is my entry for the Project Quilting Focus Through the Prism challenge for June.  The inspiration was the Friendship Star block and I chose violet for my color this month.


I liked the circular design I made for the first challenge, so I folded up a square and set about designing a friendship star version.  I soon discovered I really didn't like the way the friendship star worked when drafted the same way.  

Time for Plan B. Start with a background of "made" fabric using assorted violet fabrics including the Cherrywood violet.  Add just a few bits of yellow for some sparkle. Quilt it, then add the friendship stars on the top for a 3D wreath effect.

I sewed scraps of pastels together to make fabric for the stars, then drew some friendship star shapes in assorted sizes and cut a few of each size from freezer paper.  My first thought was to face and turn each star.  Bad idea.  Those little points are a pain to turn.  I decided raw edges would look better anyway.  I simply ironed the freezer paper to the right side of the fabrics, added a piece of heavy interfacing in back and stitched just off the edge of the freezer paper.  I removed the freezer paper and cut out each star, then layered them on the background.  A button in the center of each star in the top layer completes the look.

.
Created by Diane Lapacek in Poynette, WI.

Friday, May 29, 2015

Monkeys Go Round


The inspiration for the first Project Quilting Focus Through the Prism challenge was the monkey wrench block.  I chose to use the color blue.  The finished project was required to be 20" square and "read" the chosen color.

I woke up dreaming about monkey wrenches in a circle, so I started by making a 20" square out of paper then folded it into 16ths to create sections.  I didn't want the circle to extend all the way to the edge, so I picked a distance that looked good and drew a line parallel to the edge in one of the sections.  (It doesn't look straight here, but trust me it is.)  Then I added 2 more parallel lines, each 1 inch apart.  Why 1 inch?  Because it's a nice round number.  Then I divided the space along each line in thirds and used this grid to draft the rest of the Monkey Wrench block.


Now for the tricky part.  We moved last fall and I threw away my printer.  I didn't replace it.  Lapacek's Orchard is only 2 minutes away and my son and family including Kim of Persimon Dreams  (yes, the one who owns Project Quilting) live there, so if I need to print something, I go there.  But I didn't want to go there at 6 am.  So I stacked up 10 or so papers and put the pattern on top.  I sewed along all the lines with no thread in my sewing machine.  It worked like a charm.  After the first few stitches all the layers stayed neatly together.  I repeated with one more stack.  This gave me a few extra, but, hey, if you don't make extras, you're going to screw up at least one.  Before separating the layers of each stack, I cut them out around the outer edge and on each row to create 3 separate pieces for each monkey wrench.

From there it was just paper piecing and sewing the rows together.  Then I sewed them into a circle and added fabric made from pieces of scraps to form the background.  I added one regular monkey wrench in the center and quilted and bound it.


And I have 2 days to spare before challenge 2 comes out.  Wonder what I can make in 2 days?


Finished size is 20 inches square.
Created in Poynette, WI.


Thursday, April 30, 2015

Spontaneous Patriotism

It was the 2nd of April and I was sitting with a friend at the American Legion bar while our husbands were downstairs having their monthly meeting.  Discussion turned to the Armed Forces Day event the Legion is sponsoring at Lakeside Bar on May 16th.  My friend was helping to secure donations for the raffle and I asked what kind of things they were looking for.  She said they really could use a red, white and blue wallhanging.  She had thought about asking her aunt, but she's 90.  OK.  I'm in.

The Project Quilting off season challenge for April had just come out, so I took it as a sign.  The challenge was Spontaneous.  I figured I already had spontaneous covered by the way the inspiration happened, but I still wanted to create the quilt in a spontaneous manner.  No pattern.  No sketches.  Just start sewing.  (I have to confess, this falls in with the way I prefer to quilt, but that's another story.)

one


Red, white and blue says stars and stripes to me.  So I dug into my half square triangles.  Most of these are cut offs that I always save.  I took them how they were.  No squaring up all to one size.  I dug some "squares" out of my square drawer.  Yes, I have a square drawer and it includes not only leftover squares, but also rectangular pieces left at the end of a strip that are too small to go in with my regular scraps.

I put the squares and half square triangles together to form friendship stars.

Next step.  Dig into my strips and strings.  I put reds and white together in alternating strips.  I also added one blue strip to each side of my star blocks.  Put it all together in vertical rows. Done.

Finished size is 25" x 34".
Created by Diane Lapacek near Poynette, WI.

Sunday, March 22, 2015

Simple Charms

Time was tight this week, so I made a 3 hour project.  Part of the challenge of Project Quilting is making it fit your life, so I consider this one a success even though it's not the most exciting project I've ever made.  Maybe if I have added a fairy tree.....


I started with my stack of charm squares.  These were all cut by me a few years ago when I was teaching a class all about different options to use charm squares.  So I went through the stack and picked out the ones that fit a nice bright and happy theme.  I thought 36 was a good number.


Then I sewed them all together in a 6 x 6 layout.  No, I did not sew them like they are laid out above.  I just sewed them together randomly.  For some reason I didn't take a picture after they were sewn.  This blogging is new to me and I'm still working on taking more pictures.

I laid the finished piece on my cutting mat and cut it into 6 1/2"  strips horizontally and vertically.  I started at one edge and when the cut was going to end up almost right the seam near the middle, I cut the seam out and kept going.

I assembled the new blocks in a 3 x 5 layout to make a table runner.  I had one block left over.

 Since all this was really quick and easy, I thought I'd try making the binding out of charm squares, too.  I picked out 12 more charms and sewed them together. (It seems like one square in the middle was cut a little big, but I didn't worry about it because of how this piece would be used.) I should have pressed all these seams open.  I didn't so I re-pressed them all after they were cut.


I next cut diagonally into 2 1/2" strips.  Since I had that one block left over, I decided to cut it the same way.  I then joined all the strips end to end.  The ends were already cut on the diagonal, so they went together easily.  I didn't do any calculations to figure out how manycharms  I needed, but it came out pretty close.

Simple, fast, done.
Finished size 18" x 30"
Created by Diane Lapacek near Poynette, WI

Sunday, March 8, 2015

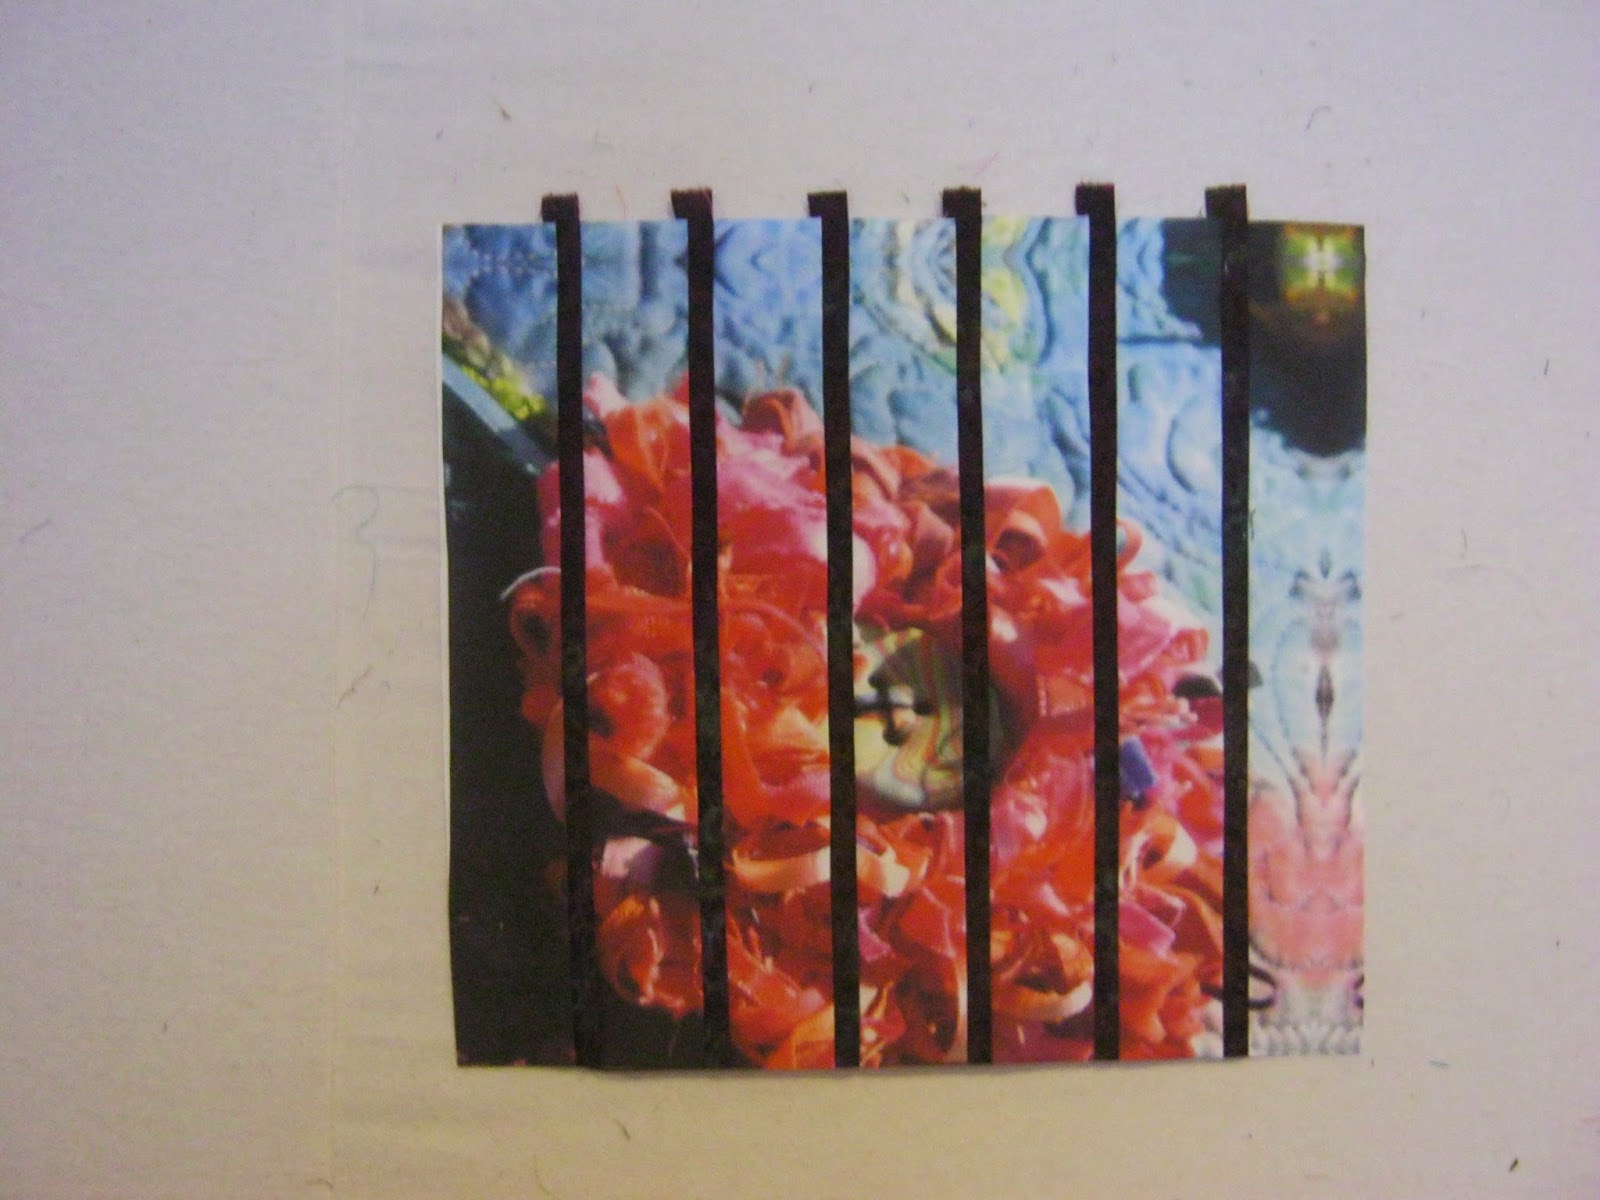
Window of the Secret Flower

I was really pressed for time this week since we were on vacation and didn't arrive home until about 4 pm Friday.  I had been thinking about my favorite fabric, though and knew it needed to be one of the Spoonflower fabrics my daughter-in-law, Kim, had given me a couple of years ago.  She had taken pictures of my quilts and manipulated them, then had them printed on fabric.

I made a quick trip to my stash and pulled out my Spoonflower fabrics and decided on this one.

Kim made it from a picture of this quilt.


I cut it down and used just 1 quarter of the piece.  I thought a simple convergence technique would fit my time frame.

I wanted to move the flower down to the corner, so I cut the bottom off.


Better.  I was going to throw the cutoff part in my orphan block drawer, but decided on this instead.


I had my 3 lovely granddaughters overnight and they named it for me.  They are being really helpful right now by not talking to me until I get this up.  I tried to do it last night but couldn't seem to stay awake ...  

Finished size is 15" x 22".

I create in Poynette, WI.


Saturday, February 21, 2015

The Heart of the Fae


I created The Heart of the Fae for the Project Quilting Season 6 Have a Heart Challenge.


I've been on a fairy tree kick ever since the PQforMe Retreat.  This is my 5th one and my last.  I promise.  At least for now.


I started with a piece of my hand dyed fabric and added a textural tree using various fibers. The heart ends of the branches were stitched free form with black and brown thread together in the same needle. 

Then I added backing and batting and quilted it all with a swirling heart design, added binding and prepared to add some beads.  


Luckily my granddaughter, Pip, was hanging out with me, so we got right to work.


We previewed the quilt when we were at this point and I thought it was done.  Pip informed me it was not.  So we added more beads.  I have to say, I think she was right.


And, of course a door for the fairies.  Why I didn't make this one heart shaped, I don't know.  But I didn't, so it's not.


Welcome to Diane's Diversions

My granddaughters, ages 8, 6 and 3 recently started their own blog and I thought it was so cool there will be a place where I can see some of the things happening in their lives. So I'm making a place where they can see some of the things that occupy my time and make me happy.

My quilts will find a place here and some of the projects that I'm working on at home. New projects for Lapacek's Orchard and, of course, fun times with those beautiful granddaughters.